Showing posts with label acrylic nails. Show all posts

Wednesday, October 7, 2015

Skull & Spider Web Nail Art

Boo!
I'm very excited today because I just happened to realise that it's been a year since I started the blog! Time sure flies! So obviously, I'm here today with a Halloween design for you!
Since October started, my homepage on instagram has been full of Halloween inspiration either from nail artists/bloggers or make up artists I follow and that really got me in the mood.

Last year I had done a nail design inspired by the Nightmare Before Christmas, so this time I wanted to try something a bit more spooky. I wasn't exactly sure what to do in the beginning, I only knew I wanted a creepy, bloody looking background and the rest came along the way.
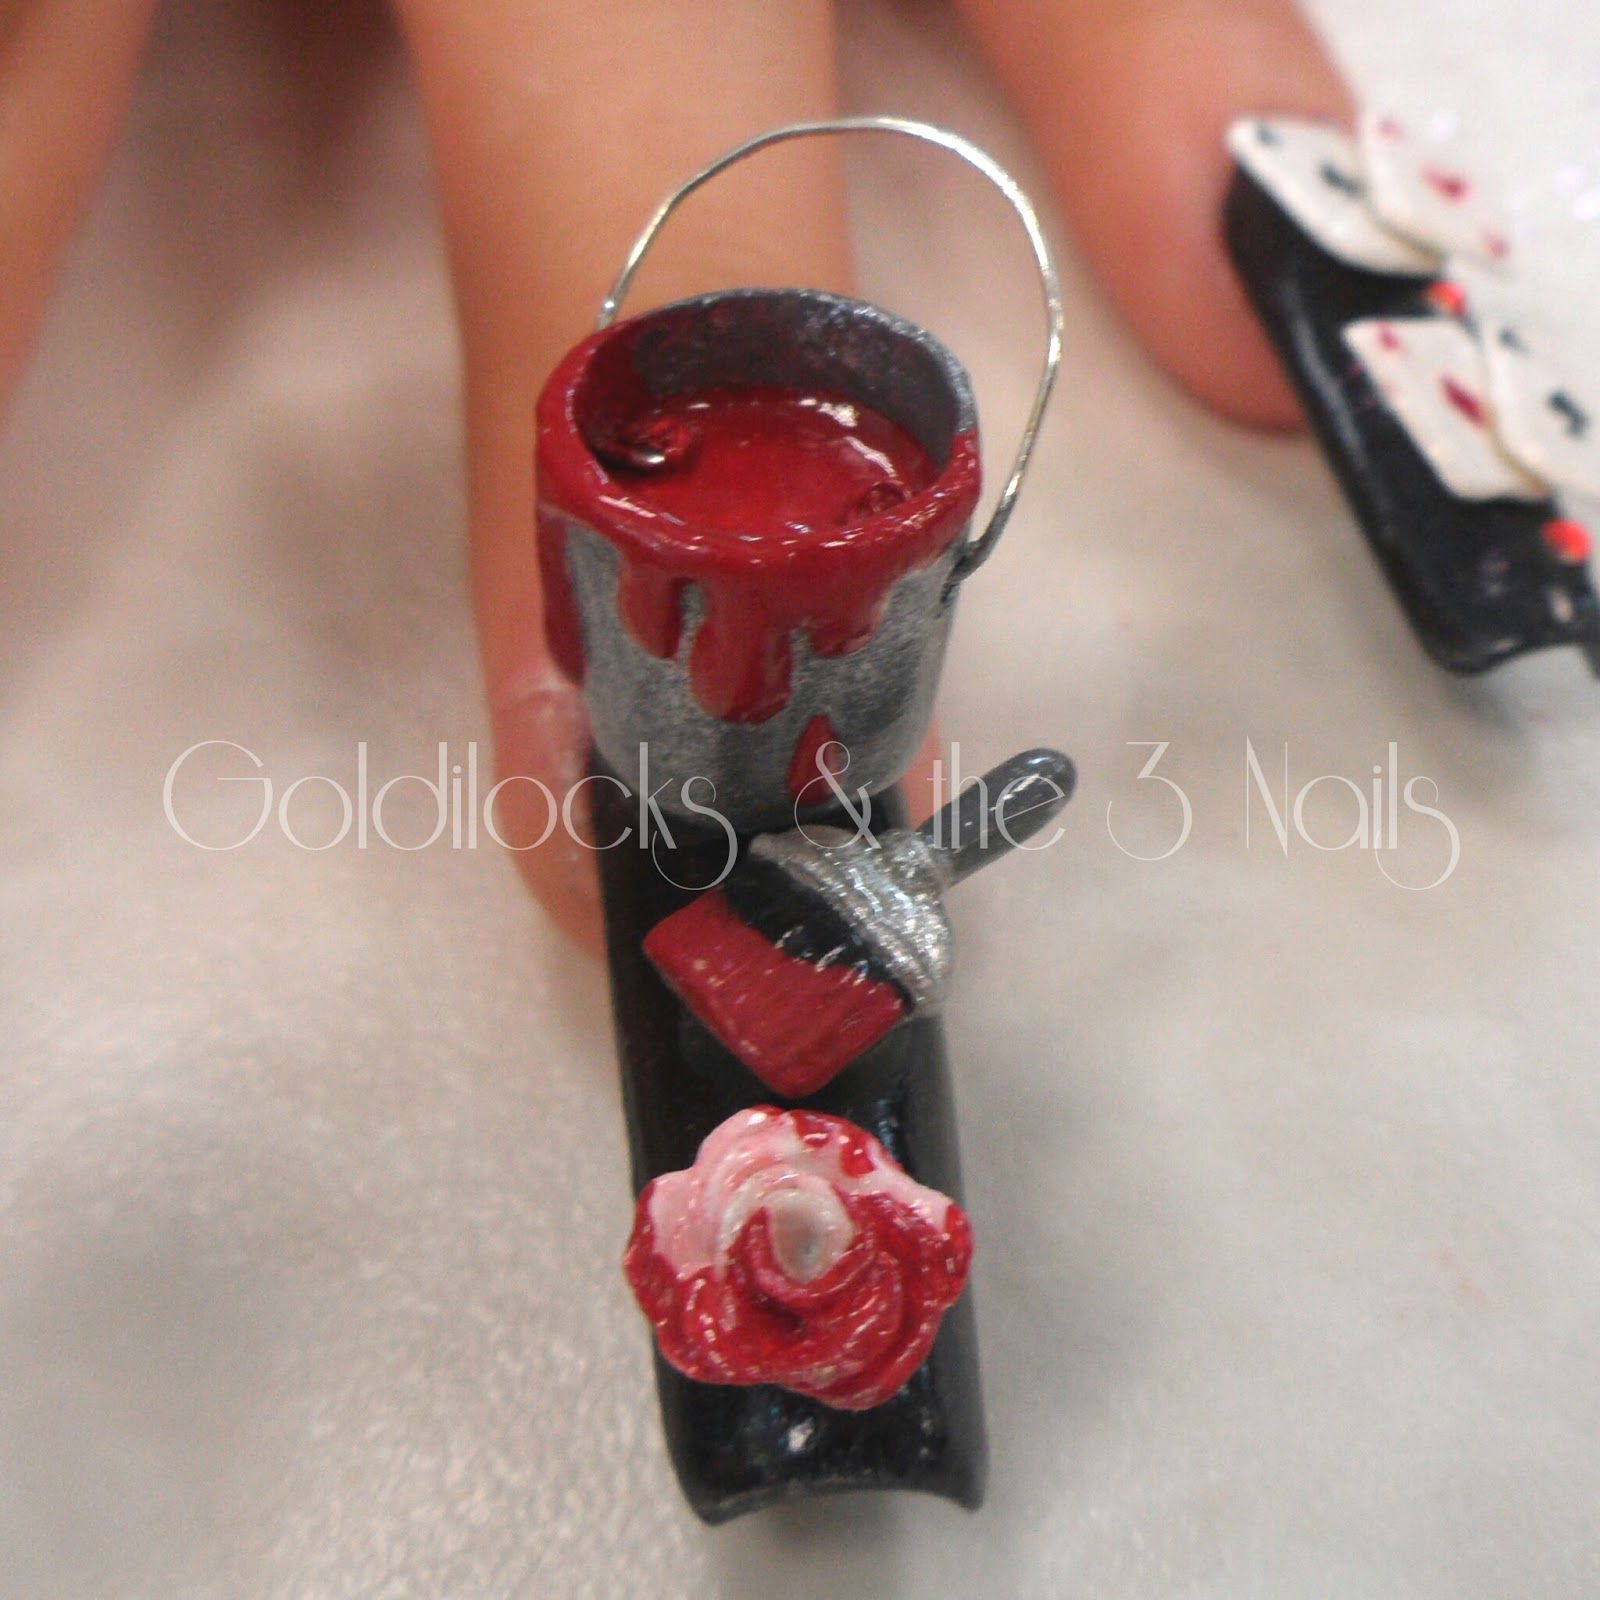
This is the design I came up with.


I started off with a white nail polish as my base and then used small pieces of a make up sponge to dab my blood colors on random parts of the nail, trying to stay focused on putting more color on the area around the cuticle and generally on the "outline" of the nail.

Normally, I was planning to use a red polish for the blood and a dark red or burgundy polish on top, to give some dimension and depth to the look. Somehow though when I tried that, it ended up having more of a fuschia tone to it, so I decided to make my own color.
I mixed a bright red polish with a dark brown (one drop of each color every time) to get that dark red color I was going for. I used the sponge to apply it on my nails and after that was dry, I dabbed some of the dark brown in certain spots to make it look more realistic. To finish the background, I took a black polish and used the "dry brush" technique to apply it randomly on my nails.
As for the designs, I used acrylic paint and when everything was dry, I topped them with a fast drying top coat.

Here are more pictures.


I'm really happy with how this turned out.
Unfortunately we don't celebrate Halloween in Greece, but if you guys are celebrating, I'd love to hear about your costumes! :)

Polishes used:

OPI Nail Envy Maintenance Nail Strengthener
Orly - White Tips
OPI - Coca-Cola Red
OPI - Suzi Loves Cowboys
Orly - Liquid Vinyl
Rush 60 Second High Speed Topcoat

Friday, June 5, 2015

Alice in Wonderland 3D Nail Art

Long time no see! It's been almost two months since I last posted anything here, but I'm back with good news. Another award!! I won 1st place for Nail Design! I'm so excited and I want to share my experience with you!

The beauty school I attended, "Eva Beauty Studies", hosted its 8th Annual Competition on June 3rd with the theme: Fairytales, Cartoons and Comics. Groups of three were formed to work on a model with the theme of their choice, in order to present a total look. Each person specialized in Hair Styling, Nail Design and Makeup. There were 18 groups and 4 awards: 1) Best Hair Styling, 2) Best Nail Design, 3) Best Makeup, 4) Best Total Look and plenty of gifts for the winners.

All groups had amazing ideas and put a lot of effort in their work! Unfortunately I didn't manage to take pictures because it was crazy! You can check "Eva Beauty Studies" facebook page, they'll be uploading pictures during the next days if you are interested.

My theme was Alice in Wonderland. In the first competition I participated (post here) I was mesmerized by all the awesome 3D nail art that I had seen and I decided that I had to try it ! So what better opportunity than this? I got to see the Disney Movie again, to take screenshots. (I admit, I saw it more than once and really enjoyed it!!) And started working!

Making this kind of 3D nail art was a new thing for me, up until now I had only done flowers. It was a very time consuming process because of all the details I wanted to put in the pieces. But all in all it was very creative and worth all the time spent on them!! Enough with my blabbing, let the picture shower begin!!

I had to sculpt really long acrylic nails for all the pieces to fit properly. So here is a picture before everything was attached to the nails.


And after..


And some close-ups...


Last but not least a picture of my beautiful team! And a special thank you to our model for being so patient!! (Just in case you were wondering, I'm the one on the right.)