Showing posts with label OPI. Show all posts

Wednesday, October 7, 2015

Skull & Spider Web Nail Art

Boo!
I'm very excited today because I just happened to realise that it's been a year since I started the blog! Time sure flies! So obviously, I'm here today with a Halloween design for you!
Since October started, my homepage on instagram has been full of Halloween inspiration either from nail artists/bloggers or make up artists I follow and that really got me in the mood.

Last year I had done a nail design inspired by the Nightmare Before Christmas, so this time I wanted to try something a bit more spooky. I wasn't exactly sure what to do in the beginning, I only knew I wanted a creepy, bloody looking background and the rest came along the way.
This is the design I came up with.


I started off with a white nail polish as my base and then used small pieces of a make up sponge to dab my blood colors on random parts of the nail, trying to stay focused on putting more color on the area around the cuticle and generally on the "outline" of the nail.

Normally, I was planning to use a red polish for the blood and a dark red or burgundy polish on top, to give some dimension and depth to the look. Somehow though when I tried that, it ended up having more of a fuschia tone to it, so I decided to make my own color.
I mixed a bright red polish with a dark brown (one drop of each color every time) to get that dark red color I was going for. I used the sponge to apply it on my nails and after that was dry, I dabbed some of the dark brown in certain spots to make it look more realistic. To finish the background, I took a black polish and used the "dry brush" technique to apply it randomly on my nails.
As for the designs, I used acrylic paint and when everything was dry, I topped them with a fast drying top coat.

Here are more pictures.


I'm really happy with how this turned out.
Unfortunately we don't celebrate Halloween in Greece, but if you guys are celebrating, I'd love to hear about your costumes! :)

Polishes used:

OPI Nail Envy Maintenance Nail Strengthener
Orly - White Tips
OPI - Coca-Cola Red
OPI - Suzi Loves Cowboys
Orly - Liquid Vinyl
Rush 60 Second High Speed Topcoat

Friday, October 2, 2015

Tie Dye Gradient & Geometric Nail Art Tutorial

After uploading the previous post about the tie dye gradient with the geometric pattern, I prepared a tutorial for it. Even though I did explain how I created this look, I thought that something more visual would be helpful. Somehow though, I forgot to upload it. Silly me! So now that I found it, I figured I'd upload it even a little late.
This was the final look:


Now, on to the tutorial!


All the products are listed in the previous post (here). The only different polish I used, was the white one (Seventeen - 103), because it was near the bottom so I threw it away.

This was actually my first time making a tutorial. Feel free to tell me what you think about it!

Saturday, September 5, 2015

Tie Dye Gradient & Geometric Nail Art

Long time no see!
A lot of things were going on during the past months, that made my mood and inspiration go down the drain. To top that, my nails were very weak at that point, so I decided to take a long break not only from blogging but from polishing my nails as well.
Now I'm back and even though summer is typically over, here in Greece it's very hot and sunny, so I'm still in a very colorful mood!

Before we even move on to the pictures, just let me say this.
1. I love gradients even though they're a real pain to clean up.
2. I love line work, geometric shapes and aztec prints on nails and there are so many nail artists out there that I admire just for that!
So after that being said and the title of the post, I guess you can see where this is going..

Here we go..


For this look I started off with two coats of white nail polish as a base, so that the colors I'd use on top of it would pop and applied a fast drying top coat. We need our base to be completely dry before we start "sponging" the color on. Then I took a make up sponge, cut it in a square shape and made it as smooth as possible for the polish to apply evenly. I chose very bright and neon colors for this almost tie dye looking gradient effect, randomly placed them on the sponge (see picture below) and dabbed it onto my nails. After the first layer had dried I did a second layer, reapplying nail polish on the sponge after each use, to get a more intense look. Wherever I felt like I needed more color, I just used small pieces of the sponge to apply the nail polish and topped it again with a fast drying top coat for an even finish.


This is what my nails looked like after the clean up.
PS: You could also leave your nails like this if you like. It still looks very beautiful.
However, I chose to keep going..


After the messy part was over, I took a long bristle nail art brush, that I had trimmed to be very thin and used white acrylic paint to do my line work. Keep in mind that brushes with very long bristles help us to make very straight and long lines, compared to short bristle brushes that are better for smaller details. Once that was dry, I used fast drying top coat (Again!) to seal everything.

All in all this was quite a time consuming design, but I believe it's fun, eye catching and well worth a try. Feel free to leave comments with your thoughts! :)

Polishes used:

OPI Nail Envy Maintenance Nail Strengthener
Seventeen - 103
Orly - Purple Crush
Orly - Risky Behavior
Orly - Key Lime Twist
China Glaze - Too Yacht To Handle
Sinful Colors - Endless Blue
Seche Vite Fast Drying Topcoat

Wednesday, April 15, 2015

When Negative Space Meets Half Moons

First post for April! Yayyy!
You can't imagine how much I've missed making nail art and sharing it with you! I recently started working and my schedule is very busy, so unfortunately I won't be able to post as often as I would like. But I promise I won't disappear!!

Since the weather is still undecisive here, I thought it would be a good idea to make a dark manicure, using two polishes I hadn't had the chance to try out. I used "Skating on Thin Ice-land"from OPI's Nordic Collection, a beautiful plum color, along with some french manicure guide stickers (ebay) to make the half moons and negative space design. Finally, I used "Turn on the Haute Light" from the Coca-Cola Collection to add the silver details.

I tried to keep it simple and I am very pleased with the end result. What do you think?


Polishes used:

Orly Bonder Rubberized Basecoat
OPI - Skating on Thin Ice-land
OPI - Turn on the Haute Light
Orly Sec 'N Dry Quick-Dry Topcoat

Thursday, March 19, 2015

OPI My Voice Is A Little Norse Swatch

In the past posts I showed you swatches of all the creamy colors in the mini Nordic Collection and today I have a swatch of "My Voice is a Little Norse", the only glitter polish in there. I was never really a big glitter fan, but the past year something's happened to me and I'm so excited to share this one with you. I think it's gorgeous!!

This is a holographic glitter in a very sheer grey base. It gives a good coverage compared to other glitter polishes I own and in the pictures I have three coats on. Although I think you'd need to apply it with a sponge in order to get a more opaque result. As for the texture, it's a bit gritty and when it comes to topcoat I'd say it's very thirsty! LOL. In the swatch I've used two coats of a fast drying topcoat and you can still see and feel the texture. You'll need at least three coats of topcoat for a smooth look. Either way, textured or not, I love it!!

Normally, I would only wear glitter polish as an accent on my nails, but I really like how this looks on a full hand. Maybe because of the grey-ish base? I don't know! It's just hypnotizing!!


I also took pictures of it over "How Great Is Your Dane?". This is only one coat of "My Voice is a Little Norse" and one coat of topcoat as well.


Polishes used:

Orly Bonder Rubberized Basecoat
OPI - "My Voice is a Little Norse"
Orly Sec 'N Dry Quick-Dry Topcoat

Sunday, March 15, 2015

OPI How Great Is Your Dane? Swatch

Today I'm back with a swatch of OPI's "How Great Is Your Dane?", which was in the mini Nordic Collection. It is a creamy dark brown polish that leans more on the grey side. The past years I've been loving brown polishes especially for fall and winter and this one is definitely different from all the others that I own.

As for the formula, I simply loved it!! I think it was the easiest to apply from all three creamy colors in the mini collection and you can get full coverage with only two coats. Seriously I have nothing bad to say about this little guy! I'm impressed!

Have any of you tried this color? Let me know what you think. :)


Polishes used:

Orly Bonder Rubberized Basecoat
OPI - How Great Is Your Dane?
Orly Sec 'N Dry Quick-Dry Topcoat

Thursday, February 26, 2015

OPI Do You Have this Color in Stock-holm? Swatch

If you asked me which color from the mini Nordic Collection is the most eye-catching to me, I would say that "Do You Have this Color in Stock-holm?"is the one. It's a creamy blue-violet polish which is dark, rich and vibrant at the same time. It might not sound right but when you see it, you will probably understand what I mean.

I found it a bit hard to capture the color in the pictures properly. Somehow it either leaned more on the blue side or on the purple side, but I did my best to be as accurate as possible. I expected the formula to be similar to "My Dogsled is a Hybrid", but it was a lot trickier to apply. The first coat came out very streaky and patchy and for a moment I'll admit I was disappointed, but magically with the second coat everything was evenly covered up. So it's not really that bad since it looks perfect in the end, but it might be negative for some. Also, I tried it on top of different basecoats and found that it applies much better on top of a more satin or matte basecoat than on a shiny one, where the polish seems to slide off the base. Actually with a matte-ish basecoat the first coat doesn't apply streaky at all! And I really do prefer these kind of basecoats in general.

Honestly, I really love this color and I would like to get it in full size as well. I hope you found this to be helpful. Tell me if you like this polish. And if you already have it, I'd love to see if you had the same opinion about the formula and the application. :)


Polishes used:

Orly Bonder Rubberized Basecoat
OPI - Do You Have this Color in Stock-holm?
Orly Sec 'N Dry Quick-Dry Topcoat

Friday, February 20, 2015

OPI My Dogsled Is A Hybrid Swatch

Whoever follows me on instagram has probably seen how naughty I was during my last visit at Sephora about 2 months ago. I bought the mini Nordic Collection from OPI which contains 4 polishes: "My Dogsled is a Hybrid", "Do You Have this Color in Stock-holm?", "My Voice is a Little Norse" and "How Great is Your Dane?". I also got "Skating on Thin Ice-Land" in full size, which is from the same collection as well and last but not least a duo from the Coca-Cola Collection, "Coca-Cola Red" and "Turn on the Haute Light", both in full size. So, as you've probably figured already, I kinda went OPI crazy!

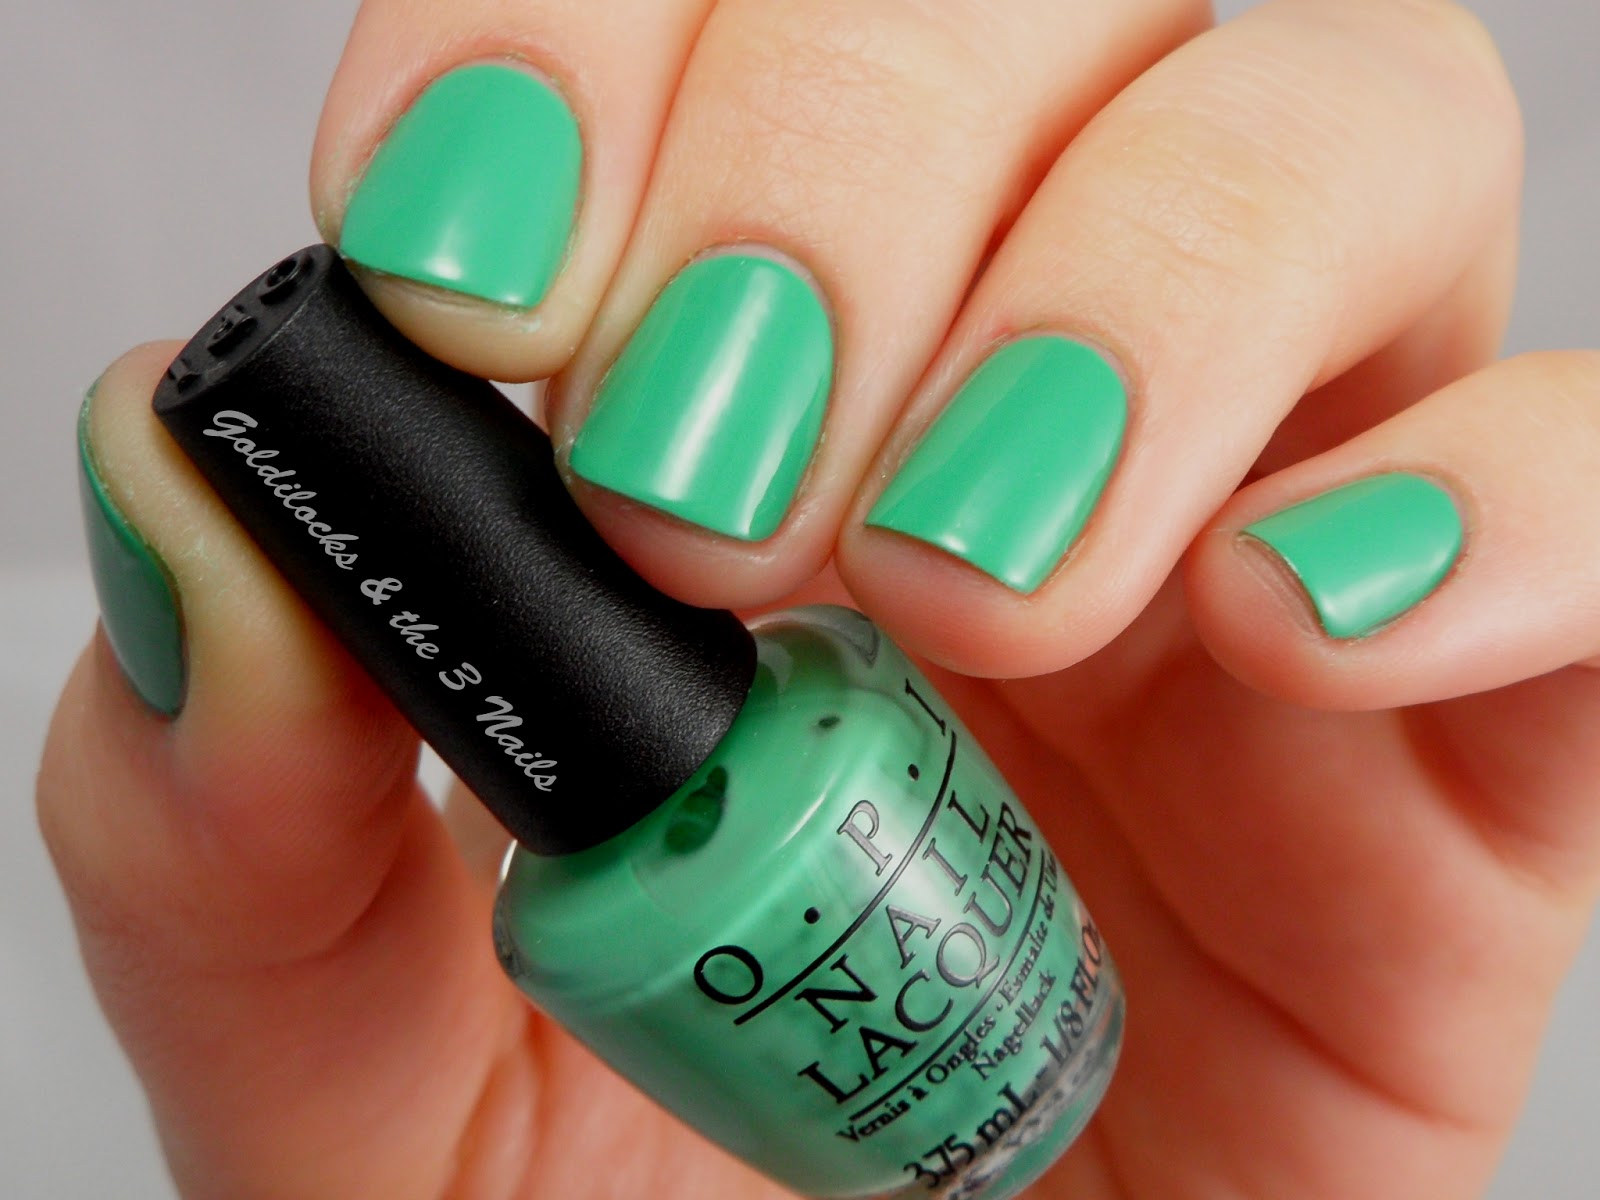
Since I bought all of these babies I hadn't had the chance to try them out, so I definitely want to show you swatches of the colors and I thought I'd start with "My Dogsled is a Hybrid" from the mini collection. This polish is a creamy sea green according to OPI and I couldn't agree more with the description because it is more on the green side rather than on the mint, as I imagined it would be in the beginning. The formula is great and it applies beautifully in two coats, although if you 're careful enough it could be a one-coater. But remember it's always better to apply two thin coats of polish rather than one thick one. ;)

I really love this polish and have nothing bad to say about it. Or maybe just one little thing, which isn't really about the polish itself but about its size..I've never owned a mini polish in my life and it was a pain trying to take a decent picture without my hand pose looking all weird with that tiny bottle. I know, I know..I have serious problems! LOL.

So tell me, what do you think of it?


Polishes used:

OPI Nail Envy Maintenance Nail Strengthener
OPI - My Dogsled Is A Hybrid
Orly Sec 'N Dry Quick-Dry Topcoat

Saturday, December 27, 2014

Have A Grungy New Year!

Here we are several days past Christmas and New Year's Eve is just around the corner!! I hope you are all having a great time with your loved ones during these special days and that 2015 will be good to us and let all our wishes and dreams come true!!

I wanted to create something appropriate for New Year's Eve, something shiny, eye catching but easy at the same time. I don't know about you, but I don't like spending too much time during the holidays for my nails. I'd rather spend that extra time with friends and family. And if you like a rock and grungy twist to things like I do, I think you'll love this!

This is a technique I first saw on Chalkboard Nails, she has a great tutorial on how to achieve this distressed look and also on The Nailasaurus, but I believe it can be found on many blogs. So I thought I'd give it a try myself and see what happens!

I was inspired by my favourite colors of  fireworks, so I decided to go metallic. I used a silver polish as a base on all my nails and then a purple, a"mermaid" blue and black for the distressed effect. All you need to do is wipe the polish off the brush very well and then apply in random spots on your nails! That's really it!

I love this look because it's simple yet very unique and you don't have to worry about all nails looking alike! Tell me what you think. Have you ever tried this technique?


Polishes used:

Essence Studio Nails XXL Nail Thickener
H&M - Silver
OPI - Tomorrow Never Dies
Korres - Paradise Green
Essence - Black is Back
Orly Sec 'N Dry Quick-Dry Topcoat

Saturday, December 13, 2014

Geometric Christmas Nail Art

Continuing the Christmas theme, I wanted to take a break from the acrylic paints and the cartoons. So, I decided to keep things simple and do a more wearable and less time consuming design. Now, I did want something simple, but I still wanted it to be playful and more on the elegant and feminine side. (I hope I managed to achieve that.)

For this design, I chose a red wine color as a base for all my nails and used a gold glitter polish to make some geometric designs on my index and ring finger. As you can see, I also used a dotting tool (from ebay) with the base color to make some dots on the glitter. On my middle finger, I used the same glitter polish to make a minimal Christmas tree and a gold round stud instead of a star. Finally, I used the same studs (from ebay) to decorate my thumb and pinky and sealed everything with a fast drying top coat.

I really hope you like this nail art design, tell me what you think. If you try this out, I would really love to see your recreations, so don't forget to use the hashtag #xrisompouklitsa on instagram or leave me a picture on Facebook. :)


Polishes used:

OPI Nail Envy Maintenance Nail Strengthener
OPI - Malaga Wine
Nails Inc - Chelsea Embankment
Essence Better Than Gel Nails Top Coat