Saturday, December 27, 2014

Have A Grungy New Year!

Here we are several days past Christmas and New Year's Eve is just around the corner!! I hope you are all having a great time with your loved ones during these special days and that 2015 will be good to us and let all our wishes and dreams come true!!

I wanted to create something appropriate for New Year's Eve, something shiny, eye catching but easy at the same time. I don't know about you, but I don't like spending too much time during the holidays for my nails. I'd rather spend that extra time with friends and family. And if you like a rock and grungy twist to things like I do, I think you'll love this!

This is a technique I first saw on Chalkboard Nails, she has a great tutorial on how to achieve this distressed look and also on The Nailasaurus, but I believe it can be found on many blogs. So I thought I'd give it a try myself and see what happens!

I was inspired by my favourite colors of  fireworks, so I decided to go metallic. I used a silver polish as a base on all my nails and then a purple, a"mermaid" blue and black for the distressed effect. All you need to do is wipe the polish off the brush very well and then apply in random spots on your nails! That's really it!

I love this look because it's simple yet very unique and you don't have to worry about all nails looking alike! Tell me what you think. Have you ever tried this technique?


Polishes used:

Essence Studio Nails XXL Nail Thickener
H&M - Silver
OPI - Tomorrow Never Dies
Korres - Paradise Green
Essence - Black is Back
Orly Sec 'N Dry Quick-Dry Topcoat

Friday, December 19, 2014

Snowflake Half Moons

It's the most wonderful time of the year they say...There's music, christmas decorations, lights and glitter everywhere! In some places it's even snowing! And since we don't see snow that often here in Athens, I decided to make my own snow, on my nails! I love snowflake designs, I don't know what exactly it is about them that makes them look so special to me. I just find them very intricate and delicate at the same time, if it makes any sense. 

I think there are several colors that are associated with Christmas such as red, green, blue, white, gold and silver, at least for most of us. But for me, a rich purple also does the trick! That is why I chose a dark metallic purple, that almost looks black, as a base color and used silver to make the snowflake half moon design. I was actually debating between white and silver for the snowflakes, but I felt that white would look too flat and thought it would be more appropriate to stick with the metallic texture of the base. So we have a winner..Silver it is!!!

And just to switch things up a bit and make it more interesting, I used a silver base on my ring finger and decorated it on the side with black iridescent rhinestones (ebay). I think the rhinestones add some bling to the whole look without making it too much to wear and they definitely give some depth and texture to it as well.

All in all, I'm very pleased with how this turned out. I think this is an easy and quick design that looks very elegant and feminine. I hope you like it and give it a try. :)


Polishes used:

Orly Bonder Basecoat
Seventeen - 493
H&M - Silver
Orly Sec 'N Dry Quick Dry Topcoat

Saturday, December 13, 2014

Geometric Christmas Nail Art

Continuing the Christmas theme, I wanted to take a break from the acrylic paints and the cartoons. So, I decided to keep things simple and do a more wearable and less time consuming design. Now, I did want something simple, but I still wanted it to be playful and more on the elegant and feminine side. (I hope I managed to achieve that.)

For this design, I chose a red wine color as a base for all my nails and used a gold glitter polish to make some geometric designs on my index and ring finger. As you can see, I also used a dotting tool (from ebay) with the base color to make some dots on the glitter. On my middle finger, I used the same glitter polish to make a minimal Christmas tree and a gold round stud instead of a star. Finally, I used the same studs (from ebay) to decorate my thumb and pinky and sealed everything with a fast drying top coat.

I really hope you like this nail art design, tell me what you think. If you try this out, I would really love to see your recreations, so don't forget to use the hashtag #xrisompouklitsa on instagram or leave me a picture on Facebook. :)


Polishes used:

OPI Nail Envy Maintenance Nail Strengthener
OPI - Malaga Wine
Nails Inc - Chelsea Embankment
Essence Better Than Gel Nails Top Coat

Monday, December 8, 2014

How the Grinch Stole Christmas Nail Art

Only 17 days left till Christmas..Are you excited?? This year I'm getting in the Christmas mood a bit more that the past years, something that doesn't happen to me that often. To be honest I have a love and hate relationship with Christmas Holidays, on one hand I love getting together with family and friends, decorating, on the other hand too much "Fa la la" makes me sick...

To match the mood I usually have during the holidays with my nails, I thought Dr. Seuss's Grinch would be ideal! I don't know about you, but I love Dr. Seuss and for some strange reason I had never seen the cartoon..So I finally watched it to get some inspiration! Here are the pictures I chose for today and here's how the story goes..

"Every Who down in Whoville liked Christmas a lot...But the Grinch,who lived just north of Whoville, did NOT! The Grinch hated Christmas! The whole Christmas season! Now, please don't ask why. No one quite knows the reason. It could be that his head wasn't screwed on just right. It could be, perhaps, that his shoes were too tight. But I think that the most likely reason of all, may have been that his heart was two sizes too small." - Dr.Seuss


For this design I used a dark metallic blue polish from my index to pinky as a base color and I topped it with a glitter polish. On my thumb I used a light grey polish. Then, just as I did in the previous post, I used acrylic paint to paint all the characters and some polishes for small details such as the ornament Cindy Lou is holding and the ornaments on the tree. In the end, I topped them all with top coat. TIP: When you use acrylic paint for designs you always have to use top coat to prevent them from smudging or coming off when you wash your hands etc.


Polishes used:

Essence Studio Nails XXL Nail Thickener
Essence - Space Queen
Seventeen - 96
Seventeen - 270
For the Christmas ornaments:
Tommy G - 431
Tommy G - 469 
OPI - Red Dazzle (As far as I remember, I lost the sticker.)
Essence Better Than Gel Nails Top Coat

Wednesday, December 3, 2014

Do you want to build a snowman?

I promised to post Christmas inspired nail art from now on and yes, you've probably guessed it right by the title..Today I have a Disney's Frozen nail art design for you. So, let the storm rage on... :)

Frozen is probably my favourite from the latest Disney films, with my favourite scene being the one where Princess Elsa sings "Let it Go". I loved everything about this film and I could watch it over and over again. Princess Elsa is absolutely stunning and Olaf is adorable, so I couldn't possibly do this look without them...

To make this design I started off with a white nail polish as a base and then used a sponge with three different shades of blue to create the ombre effect on all nails. On my thumb, index finger and pinky I used a glitter polish to add some sparkle and create the illusion of snow falling and painted on some snowflakes. Finally on my middle and ring finger I painted Olaf and Princess Elsa. To do this I used acrylic paint, that I got from a local craft store, because nail polish dries extremely fast and is not exactly the best choice when you want to do such detailed work.

Now don't get me wrong, you can do this with nail polish if you like, but you will need a variety of colours to get every detail right and lots of patience. On the other hand, using acrylics for nail art can be a life saver. With only a few basic colors you can create so many different shades, you can use water to thin them out for easier application and you can take your time to paint your designs. Well, not all the time in the world because acrylics do dry pretty fast, but definitely not as fast as nail polish.

This design is the most time consuming of all the other designs that I've done, but I enjoyed doing it and I think it was worth it. I hope you like it as much as I do. If you decide to give this a try be patient and have fun with it! Oh! And if you do, I'd love to see your recreations so don't forget, you can use the hashtag #xrisompouklitsa on instagram or just send me a picture on my blog's Facebook Page. :)


Polishes used:

Essence Studio Nails XXL Nail Thickener
Orly - White Tips
Essie - Butler Please
Tommy G - 429
Tommy G - 431
Essence - Space Queen
Essence Better Than Gel Nails Top Coat

Monday, December 1, 2014

World AIDS Day Nail Art

Finally December is here, the month that most of us were waiting for!! Christmas is only 24 days away and I'm sure all of you are already getting in the right mood and can't wait to start decorating (If you haven't already decorated of course.). I hope that this month will be very special and unique for all of us, full of health, joy, love and creativity! And before the Christmas nail art craziness begins I would like to do just one more post for a very important day...

December 1st is World AIDS day. AIDS stands for Acquired Immunodeficiency Syndrome and is the final stage of HIV (Human Immunodeficiency Virus). It can be transmitted by sexual contact, injection drug use, pregnancy, childbirth and breastfeeding, occupational exposure and rarely by blood transfusion/organ transplant according to aids.gov. It is very important for all of us to spread awareness, to know how HIV/AIDS is transmitted, what the signs and symptoms are and how to prevent it. So, take some time to read and learn about it. After all it's for our own good and health.

I wanted to keep things very simple for this design. As you can see, I painted all my nails red except my ring finger which I painted white. I painted two red ribbons on it and used red hexagon glitter to decorate around the nail. As for the rest of the nails, I used silver hexagon glitter to make little triangles on top of them. The glitter I used was from a local toy store and I found it in the crafts section. You can also find it on ebay and bornprettystore.

P.S.: I'll be posting Christmas inspired nail art designs the following days, so keep your eyes open. I'll try to post as many of them as possible. :)


Polishes used:

Essence Studio Nails XXL Nail Thickener
Essie - Lolipop
Orly - White Tips
Essence Better Than Gel Nails Top Coat

Wednesday, November 26, 2014

Pusheen Cat Nail Art

Did you know that November 26 is the International Day of Cats? Well, I sure didn't.
I happened to stumble upon it while I was searching for interesting international days for nail art ideas. As an animal lover I couldn't resist, I just had to do a cat design in honor of those cute little furballs! I started thinking of cat designs and immediately the Pusheen Cat came to mind, you've all probably seen it in the Facebook stickers. I simply love it, it's adorable!

Personally I would love to have a cat, a black one. They're so misunderstood and I love how shiny their fur looks. But we already have two dogs and a parrot...And that kinda makes it impossible..The house would turn into a jungle and my parents would kill me! LOL.

So I hope all you cat lovers like this design, it's probably my favourite up until now. Feel free to leave comments, tell me what you think. You can also tell me about your cats or pets in general if you'd like. :)


Polishes used:

Essence Studio Nails XXL Nail Thickener
Seventeen - 103
Seventeen - 270
Seventeen - 69
Essence - Black is Back
Essence - Hello Marshmallow
Opi - Tomorrow Never Dies
Tommy G - 469
Rush 60 Second High Speed Top Coat

Friday, November 21, 2014

International Children's Day Nail Art

November 20 is International Children's Day, a very important day, but for me it's even more special since it's my niece's birthday. So, to celebrate both I decided to take some of my niece's drawings (picture below) and use them to make a nail art design. I know I'm a day late, but life happens...And it's better late than never!


As most of you have probably noticed, children are very creative when drawing and have a crazy imagination. That's what I love about them! They can draw things that you would never imagine, not even in your dreams!

On to the nail design.. I present you my friends Princess Mermaid (Oops! I forgot her bow.), Turkey and Elephant. They are all one of a kind!! I know, this design might look crazy to you. But for this special day I had to see things from my little girlfriend's eyes and pretend I'm 6 years old. I suggest you do the same.. The more colors we use, the better! And we have to have some glitter, because let's face it, glitter is FUN! Oh! And of course, you can't be a princess without any glitter!!

PS: Letting your inner child come out, is very fun and creative. If we did it more often, we would smile more! Children have a very simple way of thinking which makes things very easy and as grown ups we tend to complicate everything. Remember..You don't need to over think everything all the time, just do what makes you happy!


 I had a great time creating this design and I hope you enjoy it. Feel free to leave comments. :)

Polishes used:

Essence Studio Nails  XXL Nail Thickener
Essence - Destination Sunshine
Essence - Circus Confetti
Essie - She's Picture Perfect
Essie - Butler Please
Erre Due - Heart Trick
Golden Rose Rich Color- 18
Seventeen - 103
Seventeen - 208
Seventeen - 110
Seventeen - 63
Sinful Colors - Hazard
Sinful Colors - Energetic Red
Tommy G - 467
Tommy G - 473
Essence Better Than Gel Nails Top Coat

Friday, November 14, 2014

World Diabetes Day Nail Art

November is considered Diabetes Month in most countries and specifically November 14 is World Diabetes Day. So, why not support the cause and help raise awareness?

Since I don't know much about diabetes I won't pretend to be a doctor and I'll leave it to the experts. For any of you who are interested, you can visit the International Diabetes Federation  website to read and learn more about it.

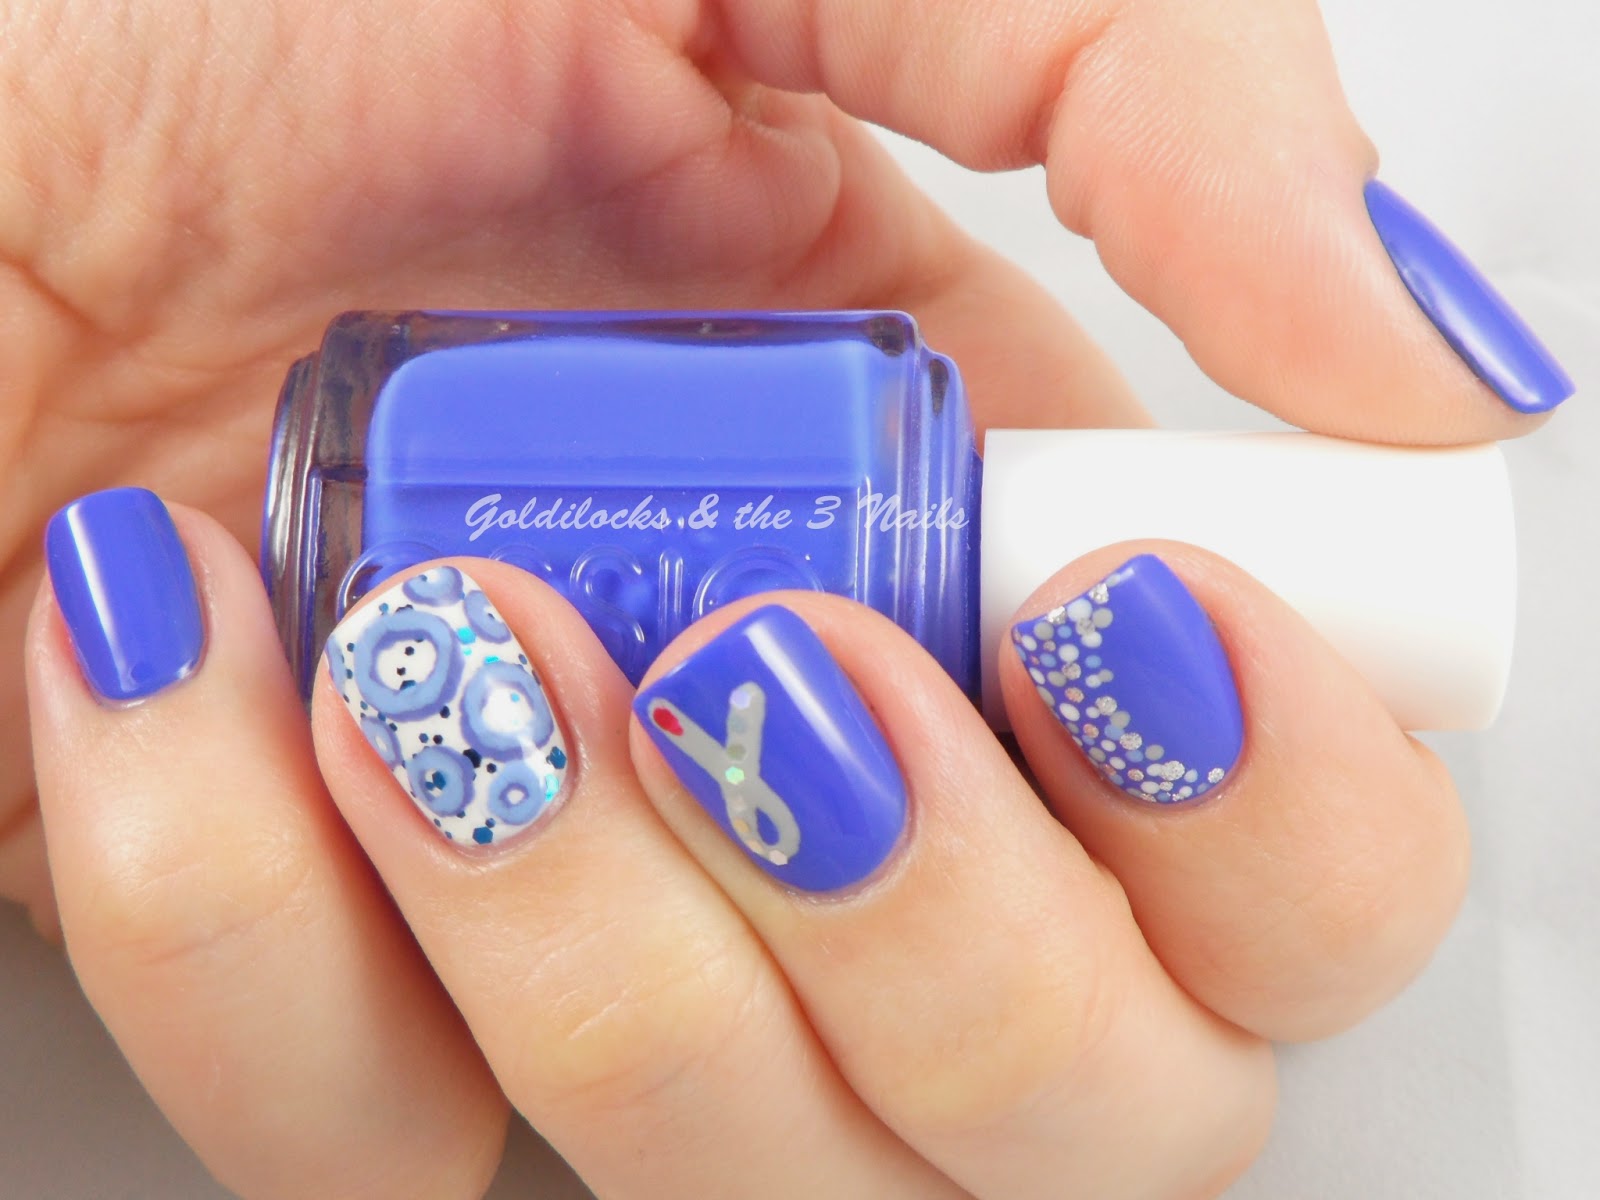
The World Diabetes Day logo is a blue circle and the grey ribbon is a symbol for diabetes awareness and that is why I decided to use both in this design.

I would also like to share with you one of my favourite make up artists on Youtube. Her name is Lex and she owns Madeyewlook and MadeULook Twice. She has amazing make up and body painting skills, OBVIOUSLY.. And she does a great job raising awareness and money to help find a cure for diabetes. So, if you are into make up, body painting or anything creative, go take a look.


Polishes used:

Essence Studio Nails XXL Nail Thickener
Essie - Lolipop
Essie - Butler Please
H&M - Did I Tell You?
H&M - Silver
Seventeen - 39
Seventeen - 103
Seventeen - 270
Tommy G - 431
Rush 60 Second High Speed Top Coat

Thursday, November 13, 2014

World Kindness Day Nail Art

For those of you who might not know, November 13 is World Kindness Day. I decided to do a nail art design for this special day, to do my part and remind everyone to focus on the good and positive.


We are all guilty of being negative, selfish, judgemental or even mean from time to time, including myself. It's very important for all of us to try and be a better version of ourselves. Being kind and loving doesn't cost a thing to anyone. Actually, kindness can have a chain effect if you think about it, they even say it's contagious. So, put on your best smile and do something nice for others people! It will most likely come back to you. Like a boomerang. In the face. Ha! Just kidding, it won't be painful. I promise!

Obviously, I was inspired by the picture above (which is not mine) and I hope you enjoy it.


Polishes used:

Essence Studio Nails XXL Nail Thickener
Essence - Black is Back
Seventeen - 18
Seventeen - 103
Tommy G - 458
Tommy G - 464
Tommy G - 467
Rush 60 Second High Speed Top Coat